
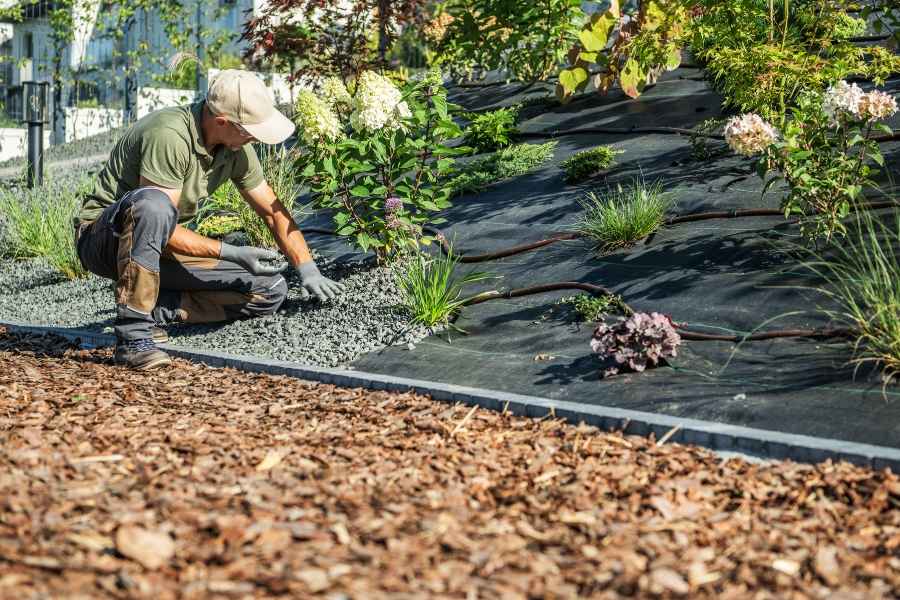
A garden project rarely ends when the last plant goes into the ground. Over the following weeks, you may discover that a path needs better drainage, a shrub grows larger than expected, or a watering routine needs adjusting. Keeping a clear record of these choices and results makes future maintenance easier—and can help other homeowners planning similar work. A simple project journal can be useful whether you are refreshing a small patio or redesigning an entire yard.
Start With a Practical Garden Project Record
Before work begins, write down what you want to change and why. Note the main problem, such as a muddy lawn, a bare fence line, or a seating area that gets too much afternoon sun. Add a rough sketch with measurements, existing features, and the direction of sunlight. These details give you a baseline to compare with the finished garden.
Keep basic information together in one place: the project date, materials, plant names, quantities, and approximate costs. Photograph the area from a few consistent angles before, during, and after the work. Pictures can reveal gradual changes that are easy to miss day to day, such as new growth or settling paving. If you are unsure of a plant’s name, record where you bought it and take a close-up photograph of its label.
Record Decisions That Affect the Result
A useful journal explains not only what you did but also the conditions that influenced your choices. For example, note whether a border receives full sun, how quickly water drains after rain, and whether the soil feels sandy or heavy. These observations help explain why one plant thrived while another struggled.
For construction and repair work, keep notes on the steps that may matter later. Record the depth of a path base, where edging was installed, or how water was directed away from a shed. Include product names and measurements when you have them, but distinguish estimates from confirmed details. A short note such as “the path stayed firm after two storms” is more helpful than a general claim that the surface is durable.
Be candid about setbacks. If a low wall needed rebuilding or a planting scheme failed in a dry spell, note what happened and what you would change. Honest details make the record more useful to you, and they are often the most valuable part for anyone reading about a similar project.
Turn Your Notes Into Advice Others Can Use
When you are ready to share the experience, organize it around a question a reader might actually have: how to make a narrow garden feel larger, prepare a base for stepping stones, or choose plants for a shaded border. Start with the situation and constraints, then describe the plan, the work, and the result. Include practical details such as time, upkeep, and the parts that required more effort than expected.
Readers benefit from specifics, but avoid presenting one garden’s conditions as a universal rule. A plant that flourishes in your mild, sheltered yard may need different care in a colder or windier location. Explain the climate, light, and soil conditions where relevant, and encourage readers to check what suits their own site. If you do not know a technical answer, say so rather than guessing.
Photographs can make a project easier to follow. Choose images that show scale and progress, and add captions that explain what is visible. Before posting, check that photos do not reveal private details you would rather keep off the internet, such as house numbers or views into a neighbour’s home.
Find a Suitable Place to Publish
A personal blog is a natural home for a longer account, especially when the story includes several stages or lessons learned over time. If you would like to reach readers beyond your own site, look for publications that already cover home projects, gardening, DIY, or personal experiences. A directory of personal blogs accepting guest posts can help you explore possible outlets. Before pitching, read a few recent articles and check whether the site welcomes practical project stories.
Make each submission specific to the publication. A garden makeover article should offer a clear takeaway, not simply announce that a project is finished. Follow the editor’s guidelines, send original photographs only when requested, and be upfront about any details you cannot verify. If you hope to build a regular writing habit, a guide to beginner writing gigs can explain how to prepare samples and approach early assignments; Osdire is one place freelancers can explore work across different service categories.
Keep the Journal Useful After the Project
Set a reminder to revisit the garden after a season or two. Add notes about which plants established well, what maintenance took more time than expected, and whether repairs held up through wet or cold weather. This follow-up turns a one-time project account into a reliable reference for future decisions.
A garden record does not need polished prose or special equipment. A notebook, a folder of labelled photographs, and a few honest observations are enough to capture what worked. Over time, those records can save effort, guide improvements, and give other homeowners grounded ideas they can adapt to their own outdoor spaces.