
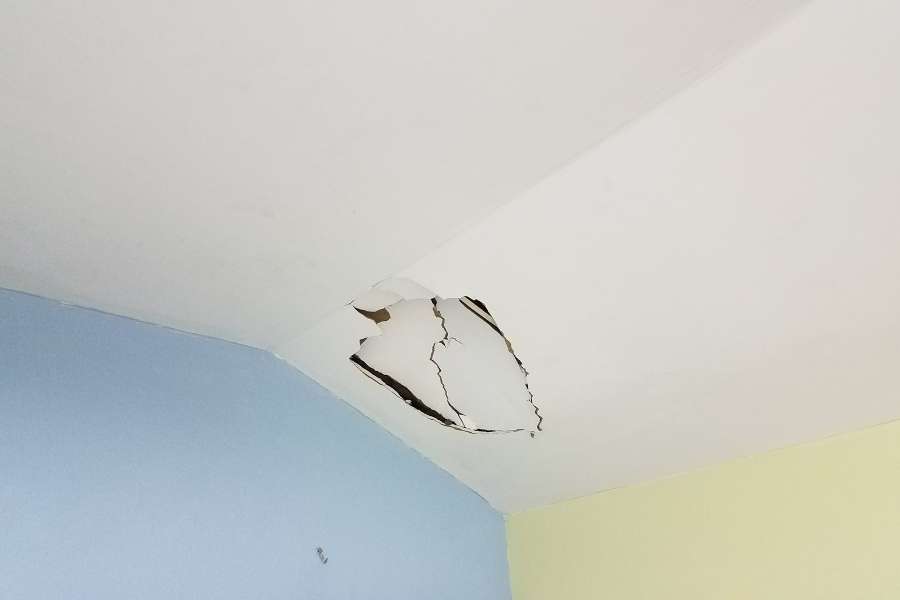
A damaged drywall hole ruins an entire room fast. Doorknobs slam and furniture moves can leave bad wall holes. Fixing these holes yourself saves time and money. With basic tools, your wall looks completely new again.
Understanding your wall layout helps you finish faster. Modern interior walls use soft gypsum wrapped in paper. Direct impacts break this core easily. Proper backing and smooth filling stop future surface cracks.
Fixing your wall builds great DIY home skills. You avoid expensive repair bills and control your time. Follow these simple steps to repair and paint your wall easily.
Essential Tools and Materials for the Job
Gathering proper supplies prevents extra trips to hardware stores. Right tools make every repair step much easier. When renovating adjacent areas, homeowners often research buying bathroom floor tiles alongside wall repair tools.
| Equipment / Material | Primary Function | Professional Tip |
| Putty knife | Spreads compound over damaged areas | Use 4-inch blades first, then 10-inch blades |
| Joint compound | Fills gaps and creates smooth surfaces | All-purpose mud grips walls very firmly |
| Wall patch | Covers medium openings with strong mesh | Self-adhesive patches cover up to 4 inches |
| Sanding block | Levels dry compound flush with walls | Use fine 120 to 220 grit paper |
| Primer coat | Seals mud before applying topcoat paint | Seals porous mud so paint sticks evenly |
Having solid supplies keeps your project moving quickly. Keep utility knives, damp sponges, and dust masks nearby. Good surface prep keeps your floor clean with drop cloths. Clear away dust before applying fresh material.
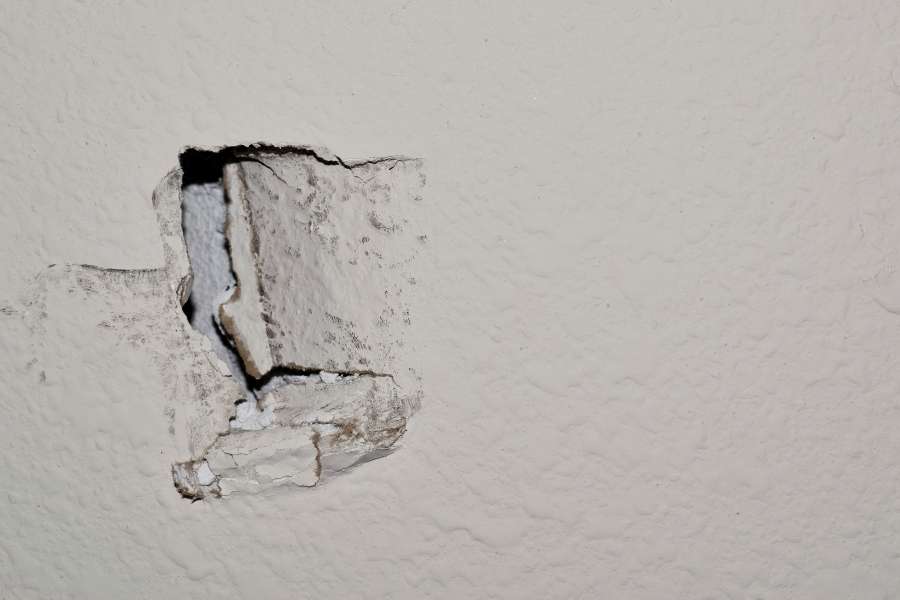
Preparing the Damaged Area for Repair
Clean foundations ensure your patch stays invisible forever. Loose paper and crumbling plaster stop compound from sticking. If you notice excess drywall powder during prep, exploring why is my house so dusty fixes helps maintain indoor air quality. Use a sharp utility knife around the hole to cut away all loose paper burrs and loose paint.
Check the wall board around the cavity for cracks. Trim soft drywall away until you reach firm board. Wipe away fine white powder with a dry brush. Clean surfaces help compound stick without cracking later.
Proper cleanup ensures your repair stays strong for years. Compound applied over loose paper peels away quickly.
Selecting the Right Patching Technique for Your Hole Size
Hole size determines the best repair method for strength. Small nail holes only need light spackle fill. Bigger holes need strong backing to hold their shape.
Using Self-Adhesive Mesh Patches for Medium Holes
Medium holes need strong mesh support over open spaces. Wondering how to fix a doorknob hole in drywall easily? Self-adhesive mesh patches cover holes up to four inches. They stick right over damage without cutting studs.
Center the mesh wall patch right over your hole. Keep one inch of mesh on solid wall edges. Press edges down firmly to stop air pockets.
Creating a Dutchman or Sheetrock Plug for Larger Holes
Holes over five inches make wire mesh flex too much. Cut a custom drywall piece to fit larger openings.
First, cut the damaged hole into a clean rectangle. Screw wood backing strips inside the open wall cavity. Attach your new sheetrock piece directly onto those boards.
Applying Joint Compound and Feathering the Edges
Now build up the surface using smooth joint compound. Apply multiple thin layers instead of one thick coat.
The First Coat: Embedding and Fill
Put joint compound on your 4-inch putty knife. Spread it right over your mesh or patch seams. Hold your knife blade at a forty-five degree angle. Press mud straight through mesh grids into wall cavities.
Scrape excess mud away to leave a thin coat. Do not worry if mesh shows through right now. Heavy first coats leave big ugly bumps on walls.
The Second Coat: Feathering for Invisibility
Let your first layer dry for four to twelve hours. Scrape off high ridges using your clean knife edge.
Switch to a wider 10-inch knife for coat two. Spread fresh mud past the original patch edges. Feather edges by pressing harder on outer knife corners. This creates flat tapered edges that hide your patch.
Sanding and Texture Matching Secrets
Careful sanding creates a completely flat surface. Put on a dust mask before starting any sanding work.
Following a step by step guide to sanding joint compound prevents over-sanding. Wrap fine-grit paper around a flat sanding block.
Use gentle circular strokes along outer patch edges. Smooth mud until you cannot feel any edge seams. Lightly sand the center without gouging soft compound. Apply more mud if mesh shows through anywhere.
Matching wall finishes makes repairs look completely professional. Most homes have subtle roller or spray wall textures.
Learn how to match wall texture after patching drywall easily. Use spray texture cans on smooth sanded patches. Test spray patterns on scrap cardboard pieces first. Spray light bursts from twelve inches away to blend.
Priming and Painting for a Flawless Finish
Never apply wall paint directly over dry mud. Dry joint compound acts like a dry sponge. Unsealed mud absorbs paint fast and looks very blotchy.
Roll a fresh primer coat over your sanded patch. Primer seals porous mud so topcoat paint dries evenly. Let primer dry fully before adding your wall paint.
Paint your patch using original wall color and sheen. Roll paint past patch edges to blend everything nicely. Matching roller covers recreates original wall micro-texture easily.
Picking pre-made repair kits simplifies buying materials at stores. Learning the best mesh patch kits for medium wall holes saves time. Kits pack mesh, mud, and knives in one box.
| Kit Category | Target Hole Diameter | Key Included Components | Ideal Use Case |
| Basic Spackle & Mesh Kit | 1 to 3 inches | 4″ mesh patch, spackle, small knife | Small door handle impacts and dents |
| Heavy-Duty Screen Kit | 3 to 5 inches | Steel mesh patch, vinyl spackle, sander | Deep accidental wall impacts |
| Full Wall Restoration Kit | 5+ inches | Backing clips, sheetrock panel, mud, knife | Structural repairs and plumbing holes |
FAQ
How long should I wait between coats of joint compound?
Joint compound takes 4 to 24 hours to dry completely. Wait until mud turns bright white before sanding or recoating.
Can I use spackle instead of joint compound for drywall patching?
Spackle works for tiny nail holes, but lacks strong bonding. Use joint compound on mesh or sheetrock patches instead.
Why is my painted patch still visible even though the wall is flat?
Skipping your primer coat causes dull spots called flashing. Always seal dry compound with primer before painting topcoats.
What is the best way to clean up drywall dust after sanding?
Use HEPA vacuum filters to collect fine gypsum dust particles. Wipe surfaces with damp microfiber cloths to clear residual dust.
How do I fix a hole if there is a stud directly behind it?
Wood studs provide solid backing without extra interior supports. Secure loose board edges, then apply mud directly over wood.